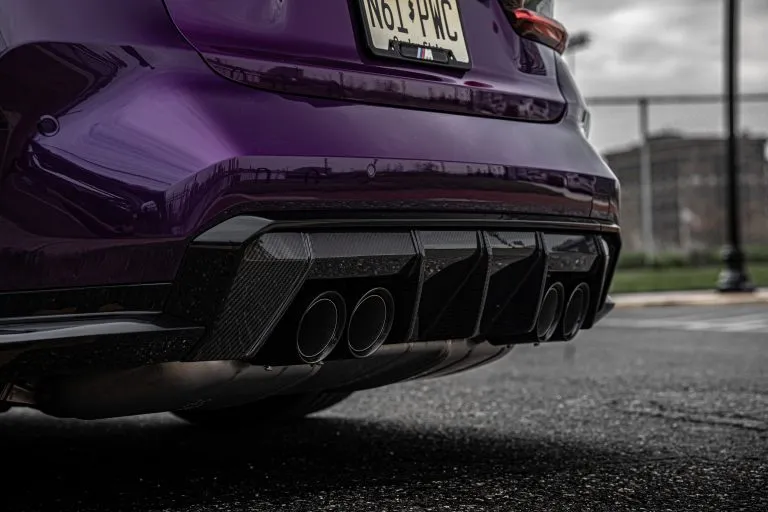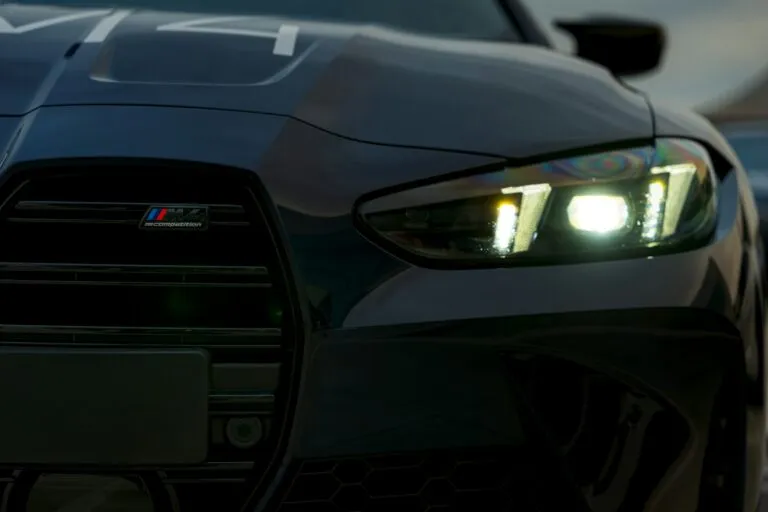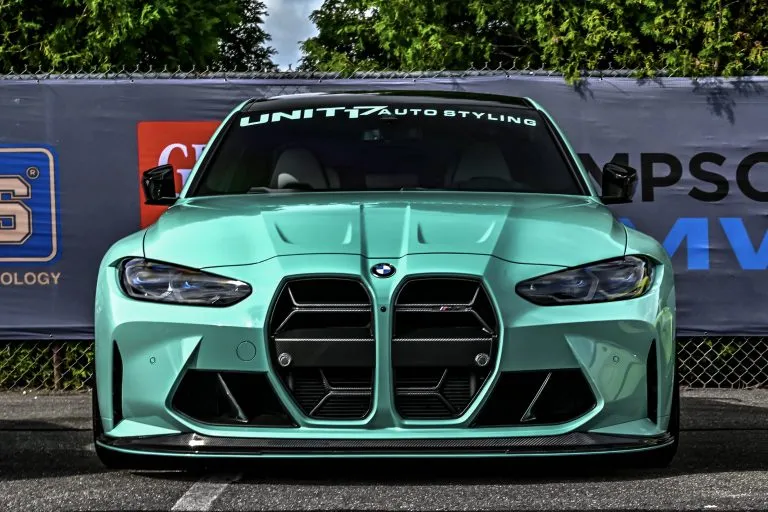
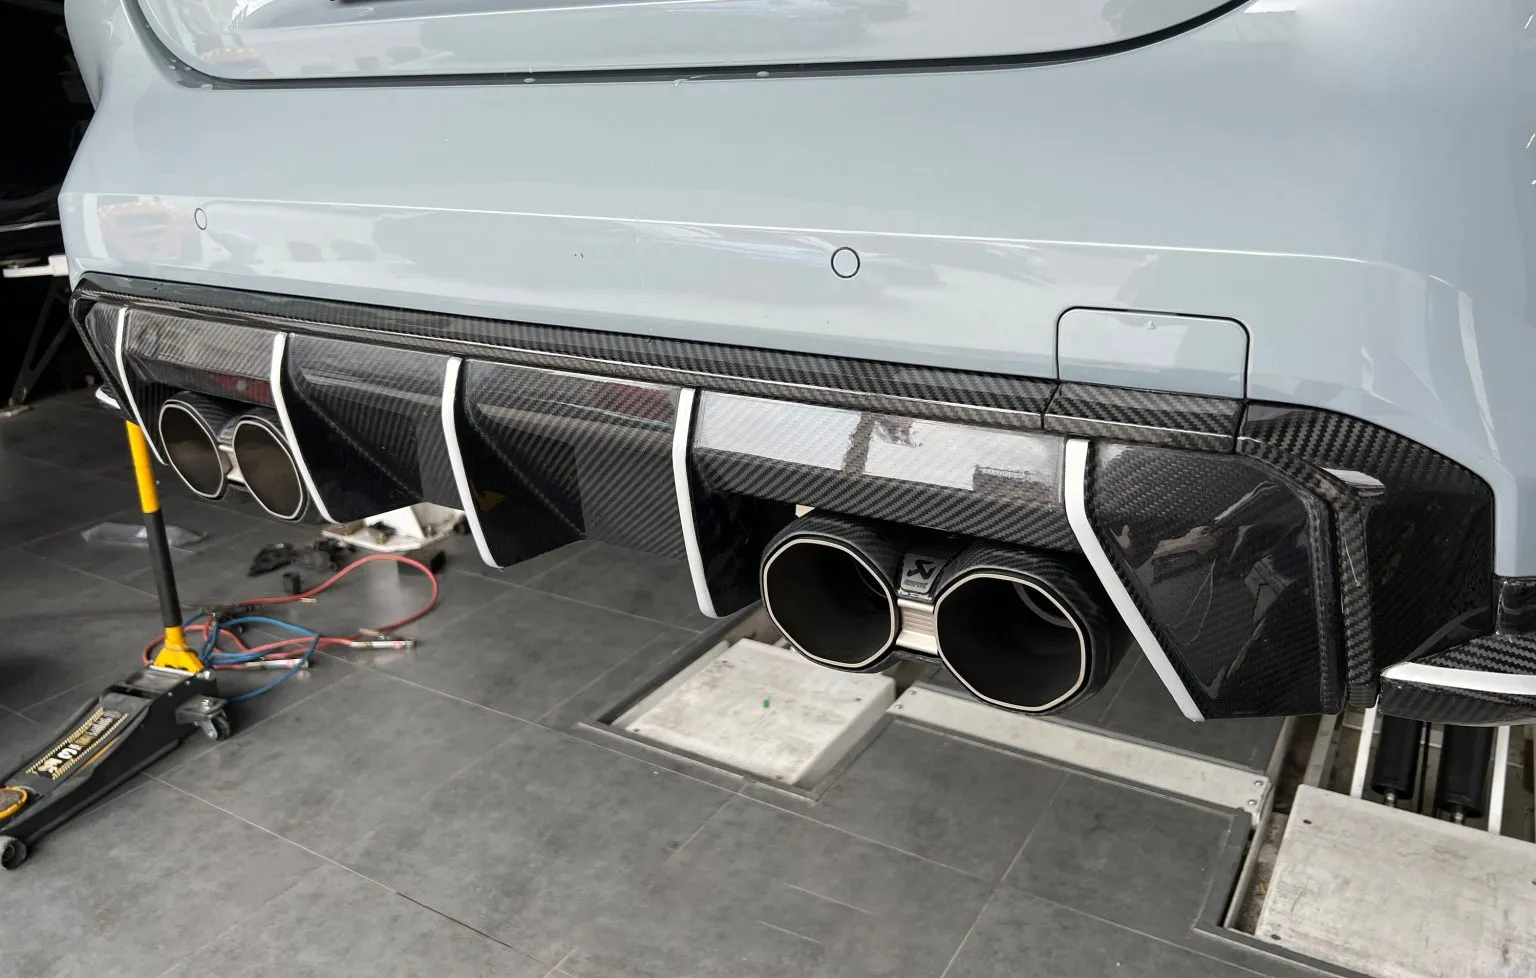
Carbon exterior parts for the G80 M3 and G82 M4 bolt on with no cutting or drilling, but the jobs aren’t equally easy. Rear corner pieces take minutes. A grille means taking the front bumper off. Below, we go through each install, easiest first, so you can decide which jobs to do yourself and which to hand to a shop.
Key takeaways
- None of these parts need cutting or drilling. They use the car’s own mounting points, so the factory parts can go back on.
- Rear corners are the easiest job. We allow 15 to 20 minutes for them in our workshop. A grille is the hardest, because the front bumper comes off.
- Use hand tools, a helper, and ramps or jack stands. Lips and diffusers fasten from underneath the car.
- Test-fit before you paint or wrap anything. Painted or installed parts can’t be returned.
- Before a grille swap, find out whether your car has the front radar. Afterward, check that Active Cruise Control works.
Which jobs can you do yourself?
| Part | Difficulty | Front or rear bumper off? | Do it yourself? |
|---|---|---|---|
| Rear corner pieces | Easy | No | Yes |
| Front lip | Moderate | No | Yes, with a helper and the car raised |
| Rear diffuser and trim | Moderate | Often, to release the clips cleanly | Yes, if you’re comfortable removing a bumper |
| Grille | Hard | Yes, the front bumper | Experienced owners, or a shop |
| F1-style brake-light diffuser | Hard | Yes, plus wiring | A shop |
Before you start
Have these ready:
- Torx bits (T25 and T30) and 8 mm and 10 mm sockets
- Plastic trim tools for clips and panels
- Painter’s tape and a soft blanket to protect the paint and the bumper
- Ramps, a lift, or a jack and jack stands, on level ground
- A helper for anything bigger than a corner piece
Use hand tools. Over-tightening with a power driver is a common way to crack plastic mounts and panels (kits.style install guide). Never work under a car held up only by a jack.
Check the part against the photos on its product page. If it comes in separate M3 and M4 versions, make sure you have the one for your car. Then test-fit it before any paint or wrap goes on. Our fitment guarantee covers parts that don’t fit the car listed on their product page, as long as you contact us before installing them.
Rear corner pieces: the easiest job
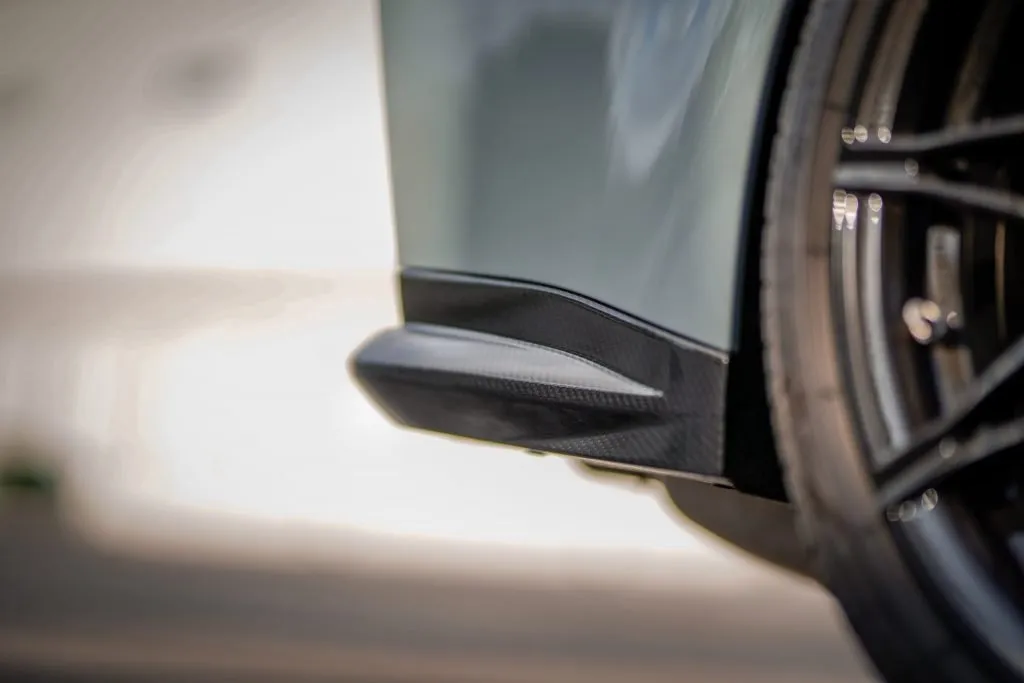
Each rear corner piece replaces a gloss-black factory part that’s held on by plastic clips and tabs. In our workshop, we allow 15 to 20 minutes for the job.
- Find the four black plastic trim clips under the factory corner piece and remove them with a pry tool.
- Press the tabs inside the bumper that hold the corner piece, then lift it away.
- Line up the carbon piece. Its clip points are in the same places as the factory part’s.
- Push it into place and refit the clips.
Corner pieces differ between the M3 and the M4, and our rear diffuser guide shows which set fits your car.
Fitting a front lip
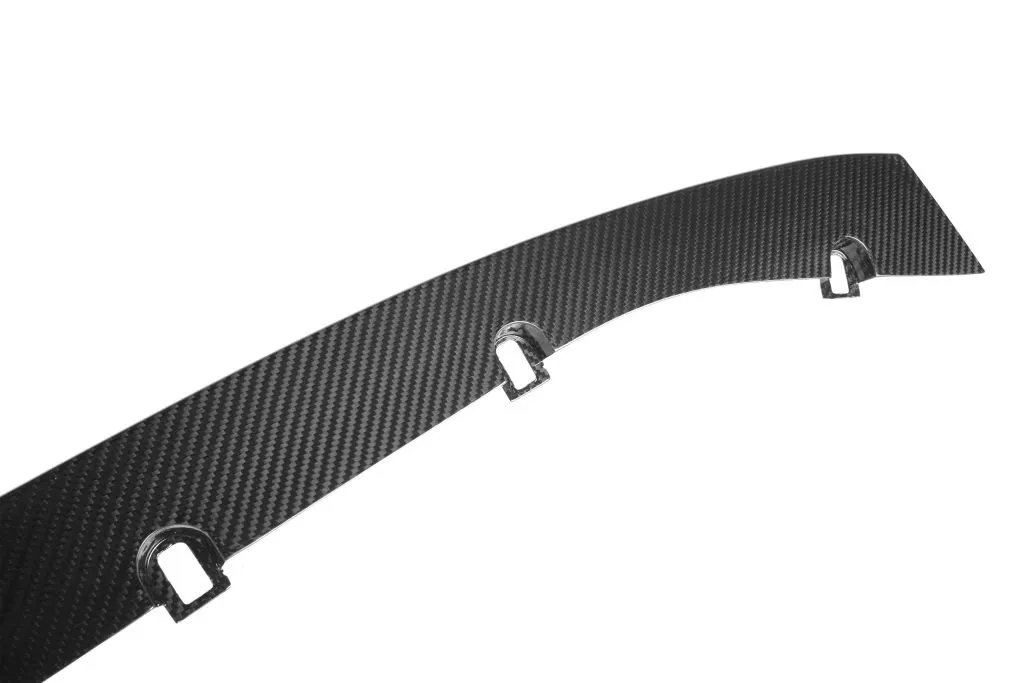
A front lip mounts underneath the front bumper, so raise the car on ramps or stands first.
- Remove the factory corner pieces if your lip replaces them, as the SPL1, SPL2, CSL style and MP style do. The fasteners at each end are easier to reach if you pull back the front of the wheel-arch liner.
- With a helper, hold the lip in place and line it up with the mounting points before you fit any fasteners.
- Fasten it to the factory mounting points. The SPL1 uses the car’s original screw holes. The SPL2 uses factory hardware, with pre-drilled holes for extra support if you want it. The V3 bolts on underneath the factory corner pieces, which stay on the car.
- Check the gaps along the bumper, then do the final tightening by hand.
To find out whether your lip keeps the factory corners or replaces them, see our front lip guide.
Fitting a rear diffuser and trim
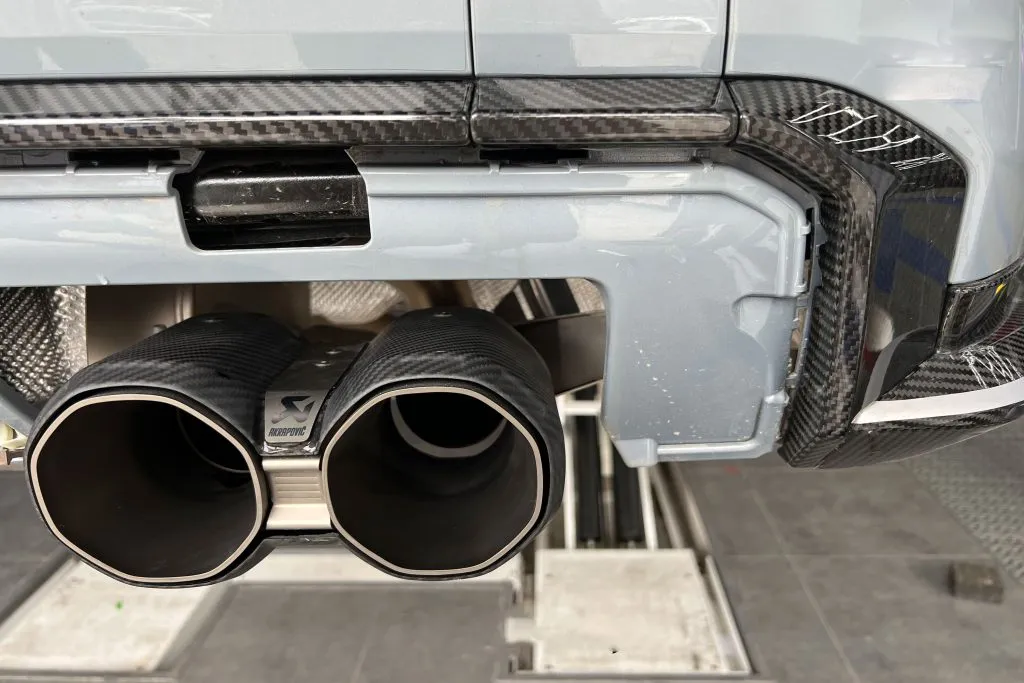
The factory diffuser is held by 10 mm bolts underneath and by clips with a lock inside that has to be pressed from inside the bumper. Don’t pull it straight down the way many owners did on the older F80 M3. That takes a great deal of force, and taking the rear bumper off is easier.
- Remove the 10 mm bolts under the diffuser.
- Release the locking tabs from inside the bumper, or take the bumper off to reach them.
- Fit the carbon diffuser to the factory mounting points and clip locations.
- If you’re fitting the rear bumper trim, bolt it on around the diffuser. It works with the factory diffuser and select aftermarket ones.
The diffuser with an F1-style brake light always needs the rear bumper off, so the light can be wired to the brake circuit. Have a shop do that wiring, and check your state’s rules on extra brake lights first.
Swapping the grille: front bumper off
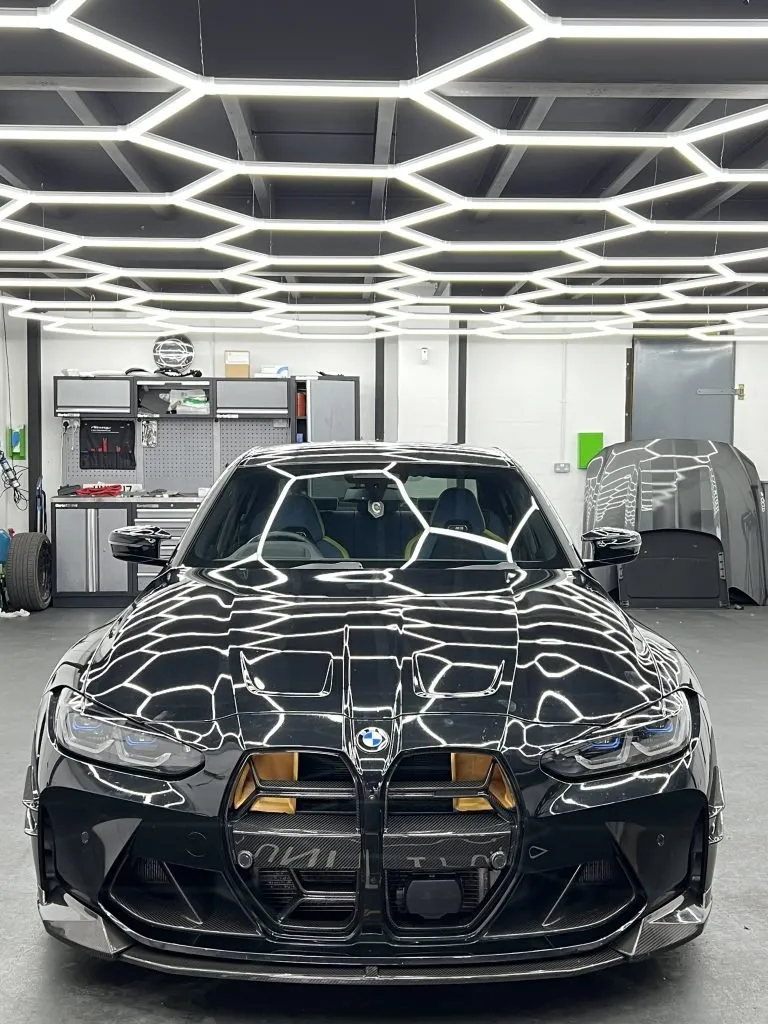
On the G80 M3 and G82 M4, every grille swap means removing the front bumper cover (BimmerWorld). Horizon Motorsport’s installation guide lays out the job in this order:
- Protect the paint with painter’s tape on the headlight edges and on the fenders where the bumper meets them.
- Remove the screws along the edge of the undertray, and the screws that hold the wheel-arch liners to the bumper.
- Remove the bolts along the top of the bumper, under the hood.
- Pull the bumper forward with a helper. Unplug its connectors, including the front camera and the radar on cars that have them, and set the bumper face down on a blanket.
- Release the clips around the grille and lift it out of the bumper.
- Move the parking sensors, their grommets, your M3 or M4 badge and any brackets on the old grille over to the new one. Seat every grommet fully.
- Clip in the new grille, then refit the bumper in reverse order and reconnect everything.
- Check that the parking sensors work. On a car with the front radar, run a sensor calibration if iDrive asks for one, and check that Active Cruise Control works.
Our grille radar and badge guide explains how to move the badge without damaging it, and why a radar car needs the right grille.
Common mistakes
- Ordering the wrong grille for a radar car. Check before you order, not after the bumper is off.
- Loose parking-sensor grommets. A sensor that isn’t seated properly can give false warnings.
- Forcing clips. Factory clips have locking tabs. Release the tabs instead of pulling.
- Power tools on plastic. Tighten by hand.
- Painting before test-fitting. Once a part is painted or installed, it can’t be returned.
When to use a shop
Hand the job to a shop if your car has the front radar and you’d rather not risk knocking it. A shop is also the better choice if you’re fitting the F1-style diffuser or can’t raise the car safely.
Frequently asked questions
Do I need to drill or cut anything?
No. Every part in this guide uses the car’s own mounting points, so the factory parts can go back on later. The F1-style diffuser also needs its light wired to the brake circuit.
How long does a grille swap take?
Most of the time goes into removing and refitting the front bumper, so allow a few hours the first time.
Do I need to remove the front bumper to fit a front lip?
No. A lip mounts underneath the bumper. Pulling the wheel-arch liner back makes a couple of fasteners easier to reach.
Does the radar need recalibrating after a grille swap?
Sometimes. Horizon Motorsport’s guide says to run a quick sensor calibration if iDrive asks for one after the bumper goes back on. If the radar got knocked, or Active Cruise Control shows a warning that doesn’t clear, have a BMW dealer or a shop with radar calibration equipment check it.
Does installing a part myself affect the warranty?
Our warranty covers defects in materials and workmanship. It doesn’t cover damage caused by improper installation, so take your time, or have a shop fit the part.
Ready to start?
Start with the easy jobs and work up. Pick your parts from our carbon grille, front lip and rear diffuser guides. If you get stuck, text us at 609-525-4865.